
30 Day Money Back Guarantee
Rated 5.0 on Google Reviews
Call Now +1 (866) 589-9392
Delivery Across North America 🚚
30 Day Money Back Guarantee
Rated 5.0 on Google Reviews
Call Now +1 (866) 589-9392
Delivery Across North America 🚚
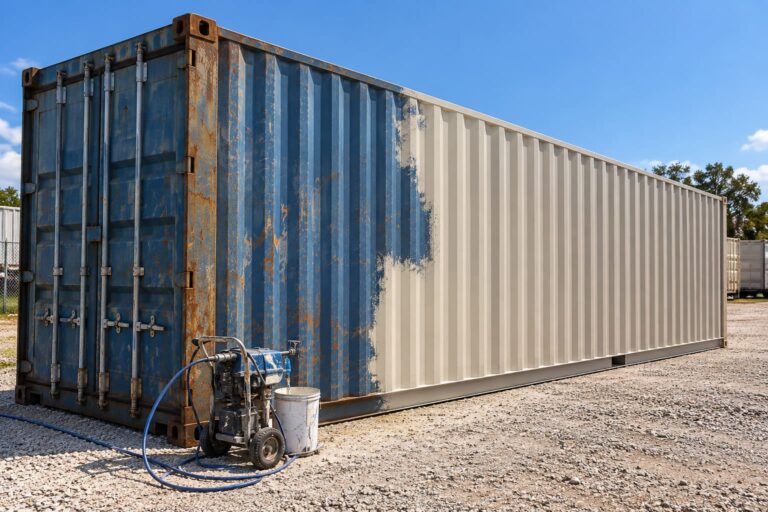
Yes, you can paint a used shipping container, and for many buyers it’s one of the best investments they can make after delivery. A fresh coat of paint changes how the container looks on your property, adds a new layer of protection against rust, and can even help keep the interior cooler in summer.
But painting a container is not the same as painting a fence or a garage door. Containers are built from weathering steel with an industrial coating system, and the wrong paint or poor preparation can lead to peeling, flaking, and rust bleeding through within a season or two. This guide covers which paint to use, how to prepare the surface, how much paint you’ll need, and the mistakes to avoid.
Used containers have spent years at sea and in port yards, and they show it. Faded paint, patches of surface rust, shipping line logos, and mismatched repair panels are all normal on a cargo-worthy unit. None of this affects structural performance, but there are good reasons to repaint.
Container steel is designed to resist corrosion, but bare spots where the original coating has worn away are where rust takes hold. Repainting seals those exposed areas and extends the service life of the container, particularly on the roof, door edges, and bottom rails where wear concentrates.
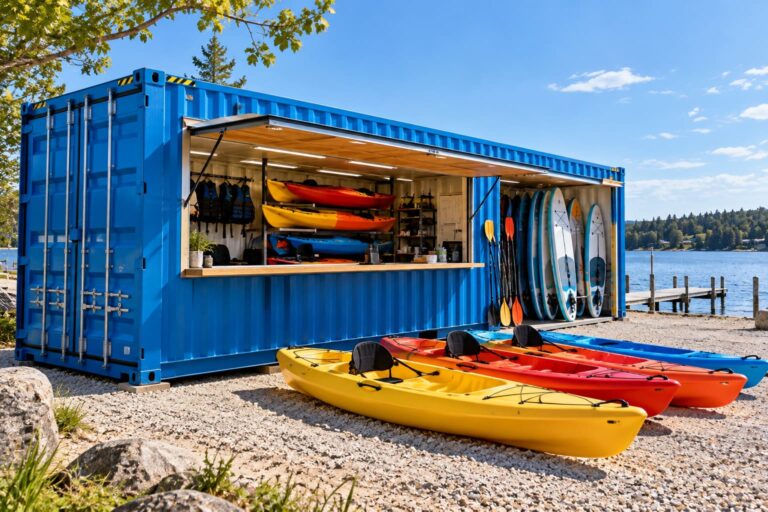
A container on a residential lot, a commercial property, or a farm looks very different in a clean, consistent colour than it does covered in a shipping company’s branding and years of patina. Many buyers paint their container to match their home, their building, or their business colours so it blends in rather than standing out.
Some municipalities, homeowners associations, and commercial landlords have expectations around how a container on a property should look. In some areas, a container painted in a neutral or earth-tone colour, or one that matches surrounding structures, is more likely to be accepted than an unpainted used unit.
Colour has a direct effect on how hot a container gets inside. A dark container in direct summer sun absorbs significantly more heat than a white or light-coloured one. If you’re storing anything sensitive to heat, painting the container a light colour, especially the roof, is one of the simplest ways to reduce interior temperatures.
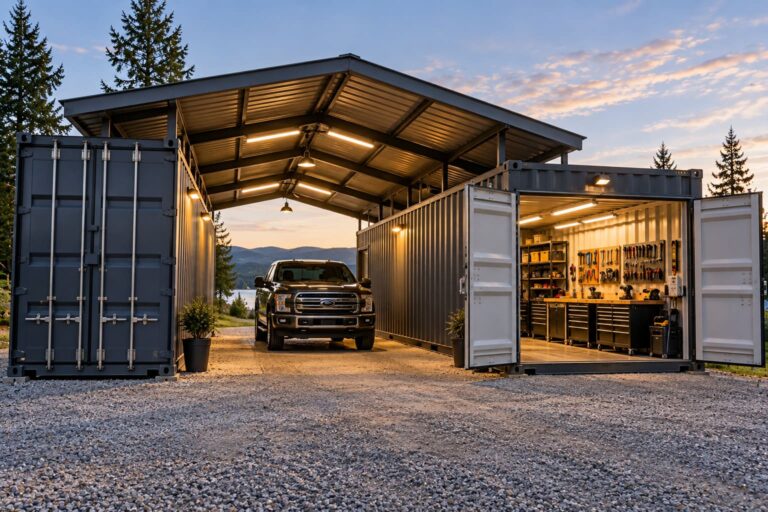
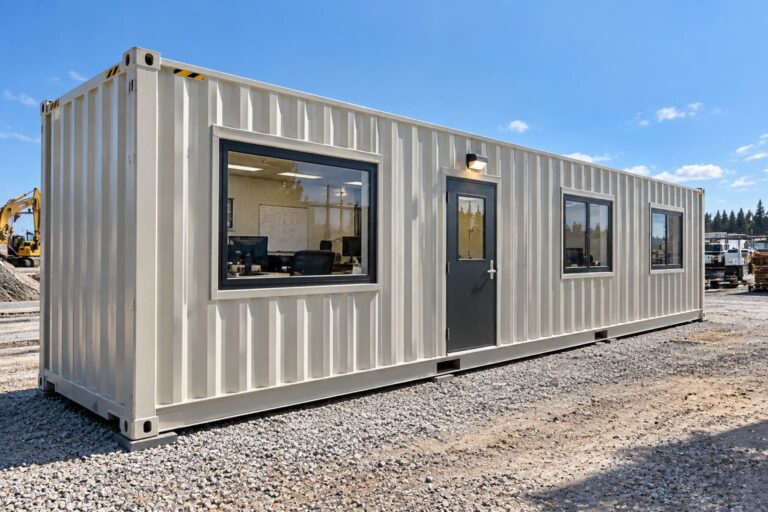
For businesses using a container as storage, a site office, or a pop-up retail space, the exterior is a branding surface. Paint in company colours with a logo turns the container into a marketing asset rather than just a steel box.
Understanding the original coating helps explain why paint choice matters. Containers are built from corten (weathering) steel and finished at the factory with a marine-grade coating system designed to survive years of salt spray and ocean conditions. That system typically includes a zinc-rich primer, an epoxy intermediate layer, and an acrylic or polyurethane topcoat.
This matters for two reasons. First, any new paint has to bond to that existing industrial coating, which is hard and glossy and doesn’t accept just any paint. Second, where the original coating is still intact, it’s providing good protection, so you don’t need to strip the container back to bare metal. The goal is to clean, repair, and recoat, not to start from scratch.
The short answer: use a paint made for exterior metal, ideally an industrial or marine-grade product. Here are the main options and where each one fits.
DTM acrylic paints are water-based coatings formulated to bond directly to metal and resist rust. They’re the most practical choice for most container owners. They’re easy to apply with a roller, brush, or sprayer, clean up with water, dry quickly, have low odour, and hold their colour well in sunlight. Many DTM products can be applied over sound existing coatings and over bare metal spots without a separate primer, though priming bare and rusted areas still gives the best result.
Best for: Most residential and commercial storage containers, DIY painting, buyers who want a durable finish without working with solvent-based products.
Alkyd enamels are solvent-based paints that cure to a hard, glossy, durable finish. They’ve been used on metal structures for decades and offer good adhesion and rust resistance. The tradeoffs are longer drying times, stronger fumes, solvent cleanup, and a tendency to chalk and fade faster than acrylics under strong UV exposure over time.
Best for: Buyers who want a hard, glossy finish and are comfortable working with solvent-based products.
Epoxy coatings offer excellent adhesion, chemical resistance, and corrosion protection. The limitation is that most epoxies break down and chalk under UV exposure, so they work best as a primer or intermediate coat beneath a UV-stable topcoat rather than as a final exterior finish on their own. Epoxy is also a strong choice for container interiors and floors where sunlight isn’t a factor.
Best for: Primer coats, heavily rusted areas being repaired, interior surfaces, and coastal or harsh-environment containers.
Polyurethane coatings are among the most durable exterior finishes available, with excellent UV resistance, colour retention, and gloss retention. They’re often used as the final layer over an epoxy primer in a professional coating system. They are typically more expensive and more demanding to apply than acrylics, and some two-part products are best left to professional applicators.
Best for: Containers in coastal environments, high-visibility commercial installations, and buyers who want the longest-lasting finish possible.
Whatever topcoat you choose, a rust-inhibitive metal primer is the foundation for any area where the original coating has worn through to bare or rusted steel. Zinc-rich primers and epoxy primers are the strongest options. Spot-priming these areas before the full topcoat is what prevents rust from bleeding back through the new paint.
| Paint Type | Durability | UV Resistance | Ease of Application | Best Use |
|---|---|---|---|---|
| DTM Acrylic | Good to very good | Very good | Easy | Most storage containers, DIY projects |
| Alkyd Enamel | Good | Moderate | Moderate | Hard glossy finish, general exterior |
| Industrial Epoxy | Excellent | Poor (chalks in sun) | Moderate to difficult | Primer, interiors, floors |
| Polyurethane | Excellent | Excellent | Difficult | Coastal, high-visibility, long-life finish |
Preparation determines how long your paint job lasts. Paint applied over dirt, grease, salt residue, or loose rust will fail no matter how good the product is. Plan to spend more time on preparation than on painting itself.
Walk around the container and note areas of rust, peeling paint, dents, and any spots where the steel is damaged. Surface rust is normal and can be treated. Rust that has perforated through a panel needs a welded patch before painting, since paint won’t fix a hole. If you’re still choosing a container, our guide on what to look for when buying a used shipping container covers how to tell surface rust from structural damage.
Pressure wash the entire exterior, including the roof, to remove dirt, salt residue, grease, and chalky oxidized paint. Use a degreaser on any oily areas. Salt residue is particularly important to remove on containers that have been in ocean service, since salt trapped under new paint accelerates corrosion. Let the container dry completely before moving on.
Use a wire brush, wire wheel on an angle grinder, or sanding disc to remove loose rust and any paint that’s peeling or flaking. You don’t need to remove all of the original coating, only the material that isn’t firmly bonded. Feather the edges of sound paint around repaired spots so the new coat blends smoothly.
For areas where tightly bonded rust remains after brushing, apply a rust converter. Rust converters chemically transform iron oxide into a stable, paintable surface. Follow the product’s cure time before priming.
The original factory coating is hard and often glossy, which makes it difficult for new paint to grip. Lightly scuff-sand intact painted areas to give the new paint a surface to bond to. Wipe the container down afterward to remove dust.
Apply a rust-inhibitive metal primer to every area where bare steel is exposed or where rust was treated. On containers with extensive wear, a full primer coat over the entire exterior gives the most uniform result.
Cover the rubber door gaskets, door handle hardware, locking cams, and the CSC safety approval plate on the door. Paint on gaskets makes them stiff and can compromise the door seal, and the CSC plate needs to remain readable if the container is ever transported or certified again.
With the container clean, repaired, and primed, the painting itself is straightforward.
Most metal coatings need dry conditions and moderate temperatures to cure properly. As a general rule, paint when the air and steel surface are above roughly 10°C (50°F), humidity is low, and no rain is expected for at least 24 hours. Avoid painting in direct midday sun in summer, since hot steel can make paint dry too fast and bond poorly. Always check the specific temperature and humidity range on your paint’s product sheet.
In Ontario, this typically means late spring through early fall. In Florida, humidity is the bigger challenge, so morning dew and afternoon storms need to be planned around. Our guide on buying a shipping container in Florida covers how heat, humidity, and salt air affect containers in that climate.
Plan on two topcoats for full coverage and durability, especially if you’re changing the container’s colour significantly. Allow the full recoat time listed by the manufacturer between coats. Work panel by panel from top to bottom, and keep a wet edge to avoid lap marks.
The roof takes more sun, rain, and standing water than any other surface and is where many containers first develop serious rust. Give it the same preparation and coating attention as the walls. A light-coloured roof also makes a noticeable difference in interior temperature.
Container walls are corrugated, which adds surface area compared to a flat panel of the same size. The estimates below include an allowance for corrugation and assume typical coverage of around 300 to 350 square feet per gallon per coat. Always check the coverage rate on your specific product.
| Container Size | Approx. Exterior Surface (incl. roof) | Paint Per Coat | Paint for Two Coats |
|---|---|---|---|
| 20ft Standard | 700 to 750 sq ft | 2 to 2.5 gallons | 4 to 5 gallons |
| 40ft Standard | 1,250 to 1,350 sq ft | 4 to 4.5 gallons | 8 to 9 gallons |
| 40ft High Cube | 1,350 to 1,450 sq ft | 4.5 to 5 gallons | 9 to 10 gallons |
Add primer for any spot-primed areas, or plan for a full primer coat at roughly the same quantity as one topcoat if the container needs full priming. Spraying uses more paint than rolling due to overspray, so budget an extra 10 to 20 percent if you’re using an airless sprayer.
Interior painting is optional for most storage uses, but it makes sense in a few situations:
A note on floors: the original plywood or hardwood floors in many used containers were treated at the factory to meet international pest-control requirements for shipping. If you plan to convert a container into a living or working space, many builders seal or cover the original floor rather than leaving it exposed, or replace it entirely.
If a consistent, clean exterior is a priority from day one, it’s worth weighing the cost and effort of preparing and painting a used container against buying a new one. New one-trip containers arrive with an intact factory coating and uniform colour, which is why they’re often chosen for client-facing installations and conversions. Browse our new containers for sale if appearance matters most and you’d rather skip the prep work.
For most storage applications, though, a cargo-worthy used container plus a weekend of preparation and painting delivers a great-looking, well-protected unit at a lower total cost. A used 20ft container is an easy, manageable first painting project, while a used 40ft container gives you double the storage space with a paint job that’s still very achievable for a DIYer with a sprayer. All of our used inventory is inspected before delivery and backed by our quality guarantee.
Ready to find the right container for your project? Get a quote and our team will help you choose the right size and condition for your property.
Yes. Used shipping containers can be painted, and repainting is one of the most common improvements buyers make after delivery. The key to a long-lasting result is proper preparation: washing off salt and dirt, removing loose rust and flaking paint, treating remaining rust, scuffing the existing coating, and priming bare metal before applying a paint designed for exterior steel.
For most container owners, a direct-to-metal (DTM) acrylic paint is the best overall choice. It bonds well to steel, resists rust, holds its colour in sunlight, and is easy to apply and clean up. For containers in harsh or coastal environments, a professional-style system using an epoxy primer and a polyurethane topcoat provides the longest-lasting protection. Standard house paint should be avoided because it isn’t designed to bond to metal.
Areas of bare steel and any spots where rust has been removed or treated should always be primed with a rust-inhibitive metal primer. Where the original factory coating is intact and properly cleaned and scuffed, many DTM paints can be applied directly. On containers with widespread wear, a full primer coat produces the most uniform and durable finish.
A 20ft container typically needs around 2 to 2.5 gallons of paint per coat for the exterior including the roof, or roughly 4 to 5 gallons for two coats. A standard 40ft container needs around 4 to 4.5 gallons per coat, or about 8 to 9 gallons for two coats. Coverage varies by product and application method, and spraying uses more paint than rolling due to overspray.
Not directly. Paint applied over loose or flaking rust will fail as the rust continues to spread underneath. Remove loose rust with a wire brush or grinder, treat any tightly bonded remaining rust with a rust converter, and prime the area with a rust-inhibitive primer before painting. Rust that has eaten completely through the steel needs a welded patch repair before it can be painted.
Colour choice depends on your goals. Light colours such as white, light grey, and beige reflect sunlight and keep the interior noticeably cooler, which helps if you’re storing heat-sensitive items. Earth tones and greens help a container blend into rural or residential surroundings. Businesses often paint containers in their brand colours. Check local bylaws, HOA rules, or landlord requirements, since some specify acceptable colours for structures on a property.
A properly prepared container painted with a quality metal coating can typically go many years before needing a full repaint, with high-performance systems lasting longer than single-coat DTM applications. Longevity depends on preparation quality, product choice, climate, and sun exposure. Inspecting the container each year and touching up chips, scratches, and early rust spots, especially on the roof and door edges, keeps the coating protective for much longer.
Yes. Industrial painting contractors, container modification shops, and some auto body or fabrication shops offer container painting services. Professional application is worth considering if you want a multi-coat epoxy and polyurethane system, need sandblasting for a heavily worn container, or want a consistent finish for a high-visibility commercial installation.