30 Day Money Back Guarantee
Rated 5.0 on Google Reviews
Call Now +1 (866) 589-9392
Delivery Across North America 🚚
30 Day Money Back Guarantee
Rated 5.0 on Google Reviews
Call Now +1 (866) 589-9392
Delivery Across North America 🚚
A shipping container is strong, but it still needs something solid to sit on. Placing a container directly on bare ground can lead to sinking, rust, doors that stick or won’t close, and a structure that slowly twists out of shape. The right foundation keeps your container level, dry, and stable for decades.
The best foundation depends on how long the container will stay in place, what you’re using it for, your soil, your climate, and your budget. This guide covers every common option, from simple blocks and gravel pads to concrete piers, slabs, and helical piles, so you can choose the right base for your project.
Containers are built to rest on their four corner castings, which carry the container’s weight down through the corner posts. In theory, a container can sit on any firm, level surface that supports those four corners. In practice, most properties aren’t perfectly firm or level, which is why a foundation matters.
A container used for short-term storage on hard, well-drained ground can sometimes sit on simple supports under each corner. But any container that will stay for a long time, carry heavy contents, be converted into a living or working space, or sit on soft or wet ground needs a properly planned foundation.
A container that isn’t level will rack, meaning its frame twists slightly out of square. The first sign is usually the cargo doors: they become hard to open, won’t line up, or won’t lock. A level foundation keeps the frame square and the doors working smoothly.
An empty 20ft container weighs roughly 2,200 to 2,400 kg (about 4,900 to 5,300 lbs), and a 40ft container roughly 3,700 to 4,000 kg (about 8,200 to 8,800 lbs). Add the contents and that weight is concentrated on four small corner points. On soft soil, those corners can sink unevenly over time, especially after heavy rain or spring thaw.
When the bottom rails and floor cross-members sit in contact with wet ground, they stay damp and corrode faster. Raising the container even a few inches allows air to circulate underneath and water to drain away, which dramatically extends its life.
Ground moisture can work its way into the wood floor from below. Keeping the container elevated and dry protects the floor and anything stored on it.
Converted containers often need room underneath for plumbing, electrical lines, and insulation. Many foundations create a crawl space or chase for utilities.
Container homes, offices, and other occupied structures typically require a permanent foundation that meets local building codes. Some municipalities also have rules about how storage containers must be placed.
Temporary placements of weeks to a few years can use simpler, removable foundations. Permanent installations need foundations designed to last as long as the structure.
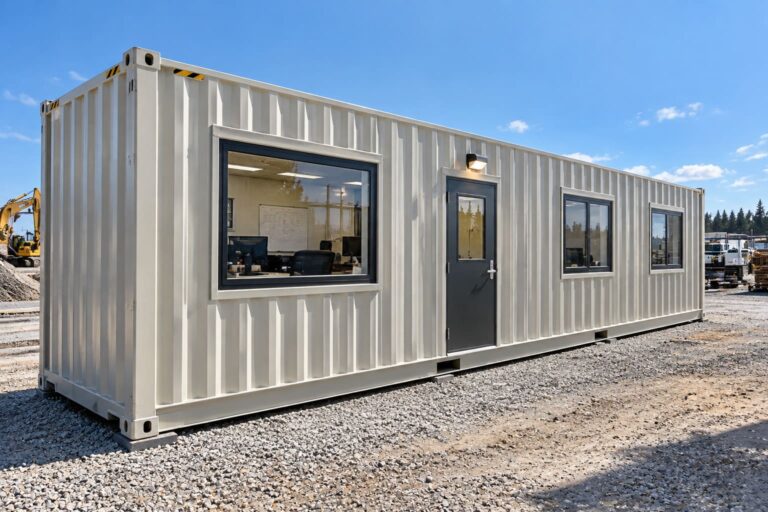
A storage container needs a stable, level base. A container home, office, or classroom needs a foundation that meets building code, handles utilities, and supports the added weight of finishes, furniture, and people.
Firm, compacted gravel or rocky soil supports a container well. Clay, loam, sand, organic topsoil, and recently filled ground can shift, swell, or settle. On softer soils, you’ll need a wider base to spread the load or a foundation that reaches deeper, firmer soil.
Simple supports like blocks and timber are inexpensive and quick. Gravel pads cost more but last longer. Concrete foundations and piles cost the most but provide permanent, code-compliant support.
If there’s a chance you’ll relocate the container, choose a foundation that doesn’t permanently attach it, such as blocks, timbers, or a gravel pad.
Solid concrete blocks or patio pavers placed under each corner are one of the most common and affordable ways to support a storage container. They raise the container off the ground, allow airflow underneath, and are easy to remove if the container is moved.
Best for: Temporary or semi-permanent storage on firm, level ground.
Tips: Use solid blocks rather than hollow ones, or place hollow blocks with cores vertical. Set the blocks on compacted gravel instead of topsoil to prevent sinking. Avoid stacking blocks high, since tall stacks become unstable. For 40ft containers, add supports at the midpoint of each long side.
Limitations: Blocks can sink or shift on soft soil and aren’t suitable for container homes or other occupied buildings.
Pressure-treated timbers or railroad ties laid under the container’s corners or along its length provide a wider bearing surface than blocks. They raise the container off wet ground and help spread its weight.
Best for: Temporary storage, especially on slightly uneven ground where timbers can be shimmed to level.
Limitations: Wood eventually rots, especially in wet ground. Old railroad ties are often treated with creosote, so check local regulations before using them, particularly near gardens or water.
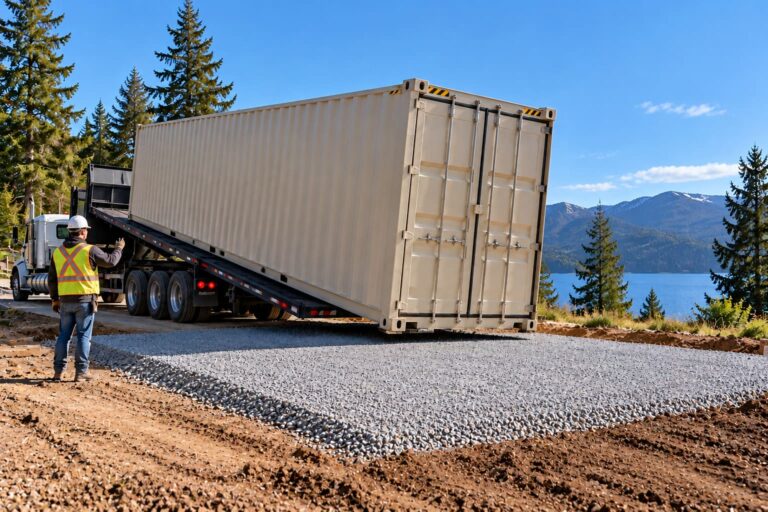
A compacted gravel pad is one of the best all-around foundations for storage containers. A layer of crushed stone is spread over the footprint of the container, compacted, and levelled, creating a firm, well-draining base.
How to build one: Remove sod and topsoil from an area slightly larger than the container, lay landscape or geotextile fabric to prevent weeds and keep gravel from mixing into the soil, then add and compact crushed stone in layers until you reach a level surface several inches thick. Wider pads give the delivery driver more room to place the container accurately.
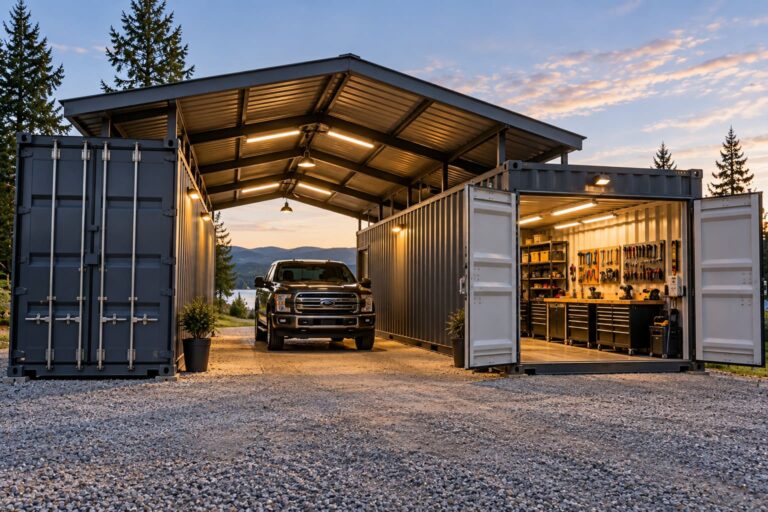
Best for: Storage containers that will stay for years, job sites, farms, and commercial yards.
Advantages: Excellent drainage, wide load distribution, and easy to combine with blocks or timbers at each corner for extra elevation.
Limitations: Requires excavation and compaction equipment. On very soft soils, a gravel pad may still settle over time.
An existing asphalt or concrete driveway or parking lot can support a container if it’s in good condition and thick enough. Place timbers or pads under the corners to protect the surface and keep the steel off standing water.
Watch out for: Thin driveways can crack under concentrated corner loads, and asphalt can soften in hot weather. Check that the surface drains well.
Placing a container directly on grass or dirt is not recommended for anything beyond very short-term use. The bottom rails stay wet, the container sinks unevenly, and the doors eventually stop working properly.
Concrete piers are columns of reinforced concrete poured into holes dug below the frost line and topped with a flat surface or embedded steel plate where the container’s corners rest. A 20ft container typically sits on four piers, one under each corner, while 40ft containers usually add piers at the midpoints of the long sides.
Best for: Container homes, cabins, offices, and permanent storage, especially on sloped sites.
Advantages: Uses less concrete than a slab, raises the container to create a crawl space for utilities and airflow, works well on uneven terrain, and the embedded plates allow the corner castings to be welded or bolted down for anchoring.
Limitations: Piers must be precisely positioned and levelled to match the container’s corner locations, so careful measurement is essential.
A slab is a continuous pad of reinforced concrete poured over the full footprint of the container, usually on a compacted gravel base. In cold climates, slabs are often built with a thickened edge, insulation, or deeper perimeter footings to manage frost.
Best for: Container homes, workshops, garages, and commercial installations where a solid, flat base is needed, as well as multi-container layouts.
Advantages: Very stable and durable, spreads weight evenly, blocks pests and ground moisture, and provides a clean surface around the container.
Limitations: Most expensive concrete option for a single container, requires the most excavation, and leaves no crawl space unless utilities are planned and cast into the slab before pouring. Rainwater can collect where the container meets the slab, so the slab should be sloped to drain.
Strip footings, sometimes called trench footings, are continuous concrete footings poured in trenches under the long sides of the container. They support the container along its rails rather than only at the corners.
Best for: Permanent installations and container homes that need space between the footings for plumbing and electrical lines.
Advantages: Less concrete than a full slab, strong continuous support, and an open space underneath for utilities.
Limitations: More excavation than piers, and not ideal on steep slopes.
Helical piles are steel shafts with screw-like plates that are twisted deep into the ground by machine until they reach stable soil. A bracket or cap on top supports the container’s corners or beams.
Best for: Soft soil, sloped sites, cold climates with frost heave, waterfront and flood-prone properties, and sites where excavation is difficult.
Advantages: Installed quickly with minimal digging, can be loaded immediately with no concrete curing time, reach below the frost line, work in tight or environmentally sensitive sites, and can often be removed later.
Limitations: Requires specialized installation equipment and contractors.
Driven piles are steel, concrete, or timber columns hammered deep into the ground to reach bearing soil or rock, then capped with concrete or steel. They’re typically used on very soft ground, marshy sites, or heavy commercial and multi-storey container projects.
Best for: Poor soil conditions and large or stacked container structures.
Limitations: Specialized equipment and engineering are required, making this one of the most expensive options.
| Foundation | Permanence | Relative Cost | Best Soil | Best Use |
|---|---|---|---|---|
| Concrete blocks | Temporary | Low | Firm, level | Short-term storage |
| Timber / railroad ties | Temporary | Low | Firm, slightly uneven | Short-term storage |
| Gravel pad | Semi-permanent | Low to moderate | Most soils | Long-term storage, job sites, farms |
| Existing pavement | Temporary to semi-permanent | Low | N/A (sound surface) | Driveways, yards, parking lots |
| Concrete piers | Permanent | Moderate | Most soils, slopes | Homes, cabins, offices |
| Strip footings | Permanent | Moderate to high | Most soils | Homes needing utilities underneath |
| Concrete slab | Permanent | High | Stable soils | Homes, garages, workshops |
| Helical piles | Permanent or removable | Moderate to high | Soft, wet, frost-prone, sloped | Difficult sites, waterfront, cold climates |
| Driven piles | Permanent | High | Very poor soil | Large or stacked structures |
Pick a location on higher ground where water drains away, with enough space around the container to open the doors fully. Avoid low spots, the bottom of slopes, and areas where snow piles up from plowing.
Containers are typically delivered on a tilt-bed truck that slides the container off the back. The driver needs a clear approach, enough room for the truck and the container’s full length, and no low overhead wires or tree branches. Prepare the foundation before delivery so the container can be placed directly on it, and confirm that the ground along the delivery route can support a loaded truck.
Mark the exact corner locations based on the container’s exterior dimensions: about 20′ x 8′ for a 20ft container and about 40′ x 8′ for a 40ft container. Precise measurement is critical for pier and pile foundations, since the corner castings need to land on the supports.
Use a long level, laser level, or transit to check level in both directions before and after placement. Small adjustments can be made with steel shims under the corners. A level container keeps the doors aligned and water draining properly.
Grade the ground around the container so water flows away from it. Gravel around the perimeter helps prevent splashback and mud. For slabs, slope the surface slightly away from the container.
In high-wind areas, anchor the container to its foundation using weld plates, bolted brackets, twist locks, or tie-down anchors attached to the corner castings. This matters most for empty or lightly loaded containers and for any container in a hurricane zone.
Storage containers on simple foundations often don’t need a building permit, but rules vary by municipality, and some require permits or specify how containers must be placed. Any container used as a home, office, or other occupied space usually needs a permit and a foundation that meets local building code.
For permanent foundations, soft or unknown soil, sloped sites, stacked containers, or occupied buildings, consult a structural engineer or experienced foundation contractor. A soil test can also help determine which foundation will perform best on your property.
Preparing the right foundation before delivery makes setup quick and keeps your container in great shape for years. Whether you need a used 20ft container for storage on a gravel pad or a new 40ft high cube container for a permanent build on piers, our team can help you plan delivery to your site. Get a quote or use our live rate tool to price a container delivered to your property. Have questions about site preparation? Visit our frequently asked questions page.
It depends on how you’ll use the container. For storage, a compacted gravel pad is one of the best all-around options because it’s firm, level, and drains well. For container homes and other permanent structures, concrete piers, strip footings, slabs, or helical piles designed to meet local building code are the best choices.
It’s not recommended except for very short-term use. Bare ground stays damp, which causes rust on the bottom rails and floor, and soft soil can let the corners sink unevenly. Even simple blocks or timbers on compacted ground are a big improvement.
Concrete blocks or pressure-treated timbers placed under each corner are the least expensive option. They work well for temporary storage on firm, level ground. A gravel pad costs more but provides better long-term stability and drainage.
At minimum, a container needs support under all four corners. A 40ft container should also have supports at the midpoint of each long side, for six support points in total. Some builders add extra supports for heavy contents or converted containers.
Yes, for most storage applications. A properly compacted gravel pad provides a firm, level, well-draining base that prevents sinking and rust. For a container home or occupied building, local codes usually require a permanent concrete or pile foundation instead.
Build permanent foundations below the local frost line using concrete piers, strip footings, or helical piles, or use a frost-protected slab design with insulation. Good drainage also reduces frost heave, since frost is worse in wet soils.
Simple foundations for storage containers often don’t need a permit, but rules vary by municipality. Permanent foundations for container homes, offices, and other occupied buildings usually require a building permit. Check with your local building department before starting.
In high-wind or hurricane-prone areas, yes. Anchoring the corner castings to the foundation with weld plates, bolts, twist locks, or tie-downs prevents an empty or lightly loaded container from shifting during storms. Permanent structures should be anchored according to local code.